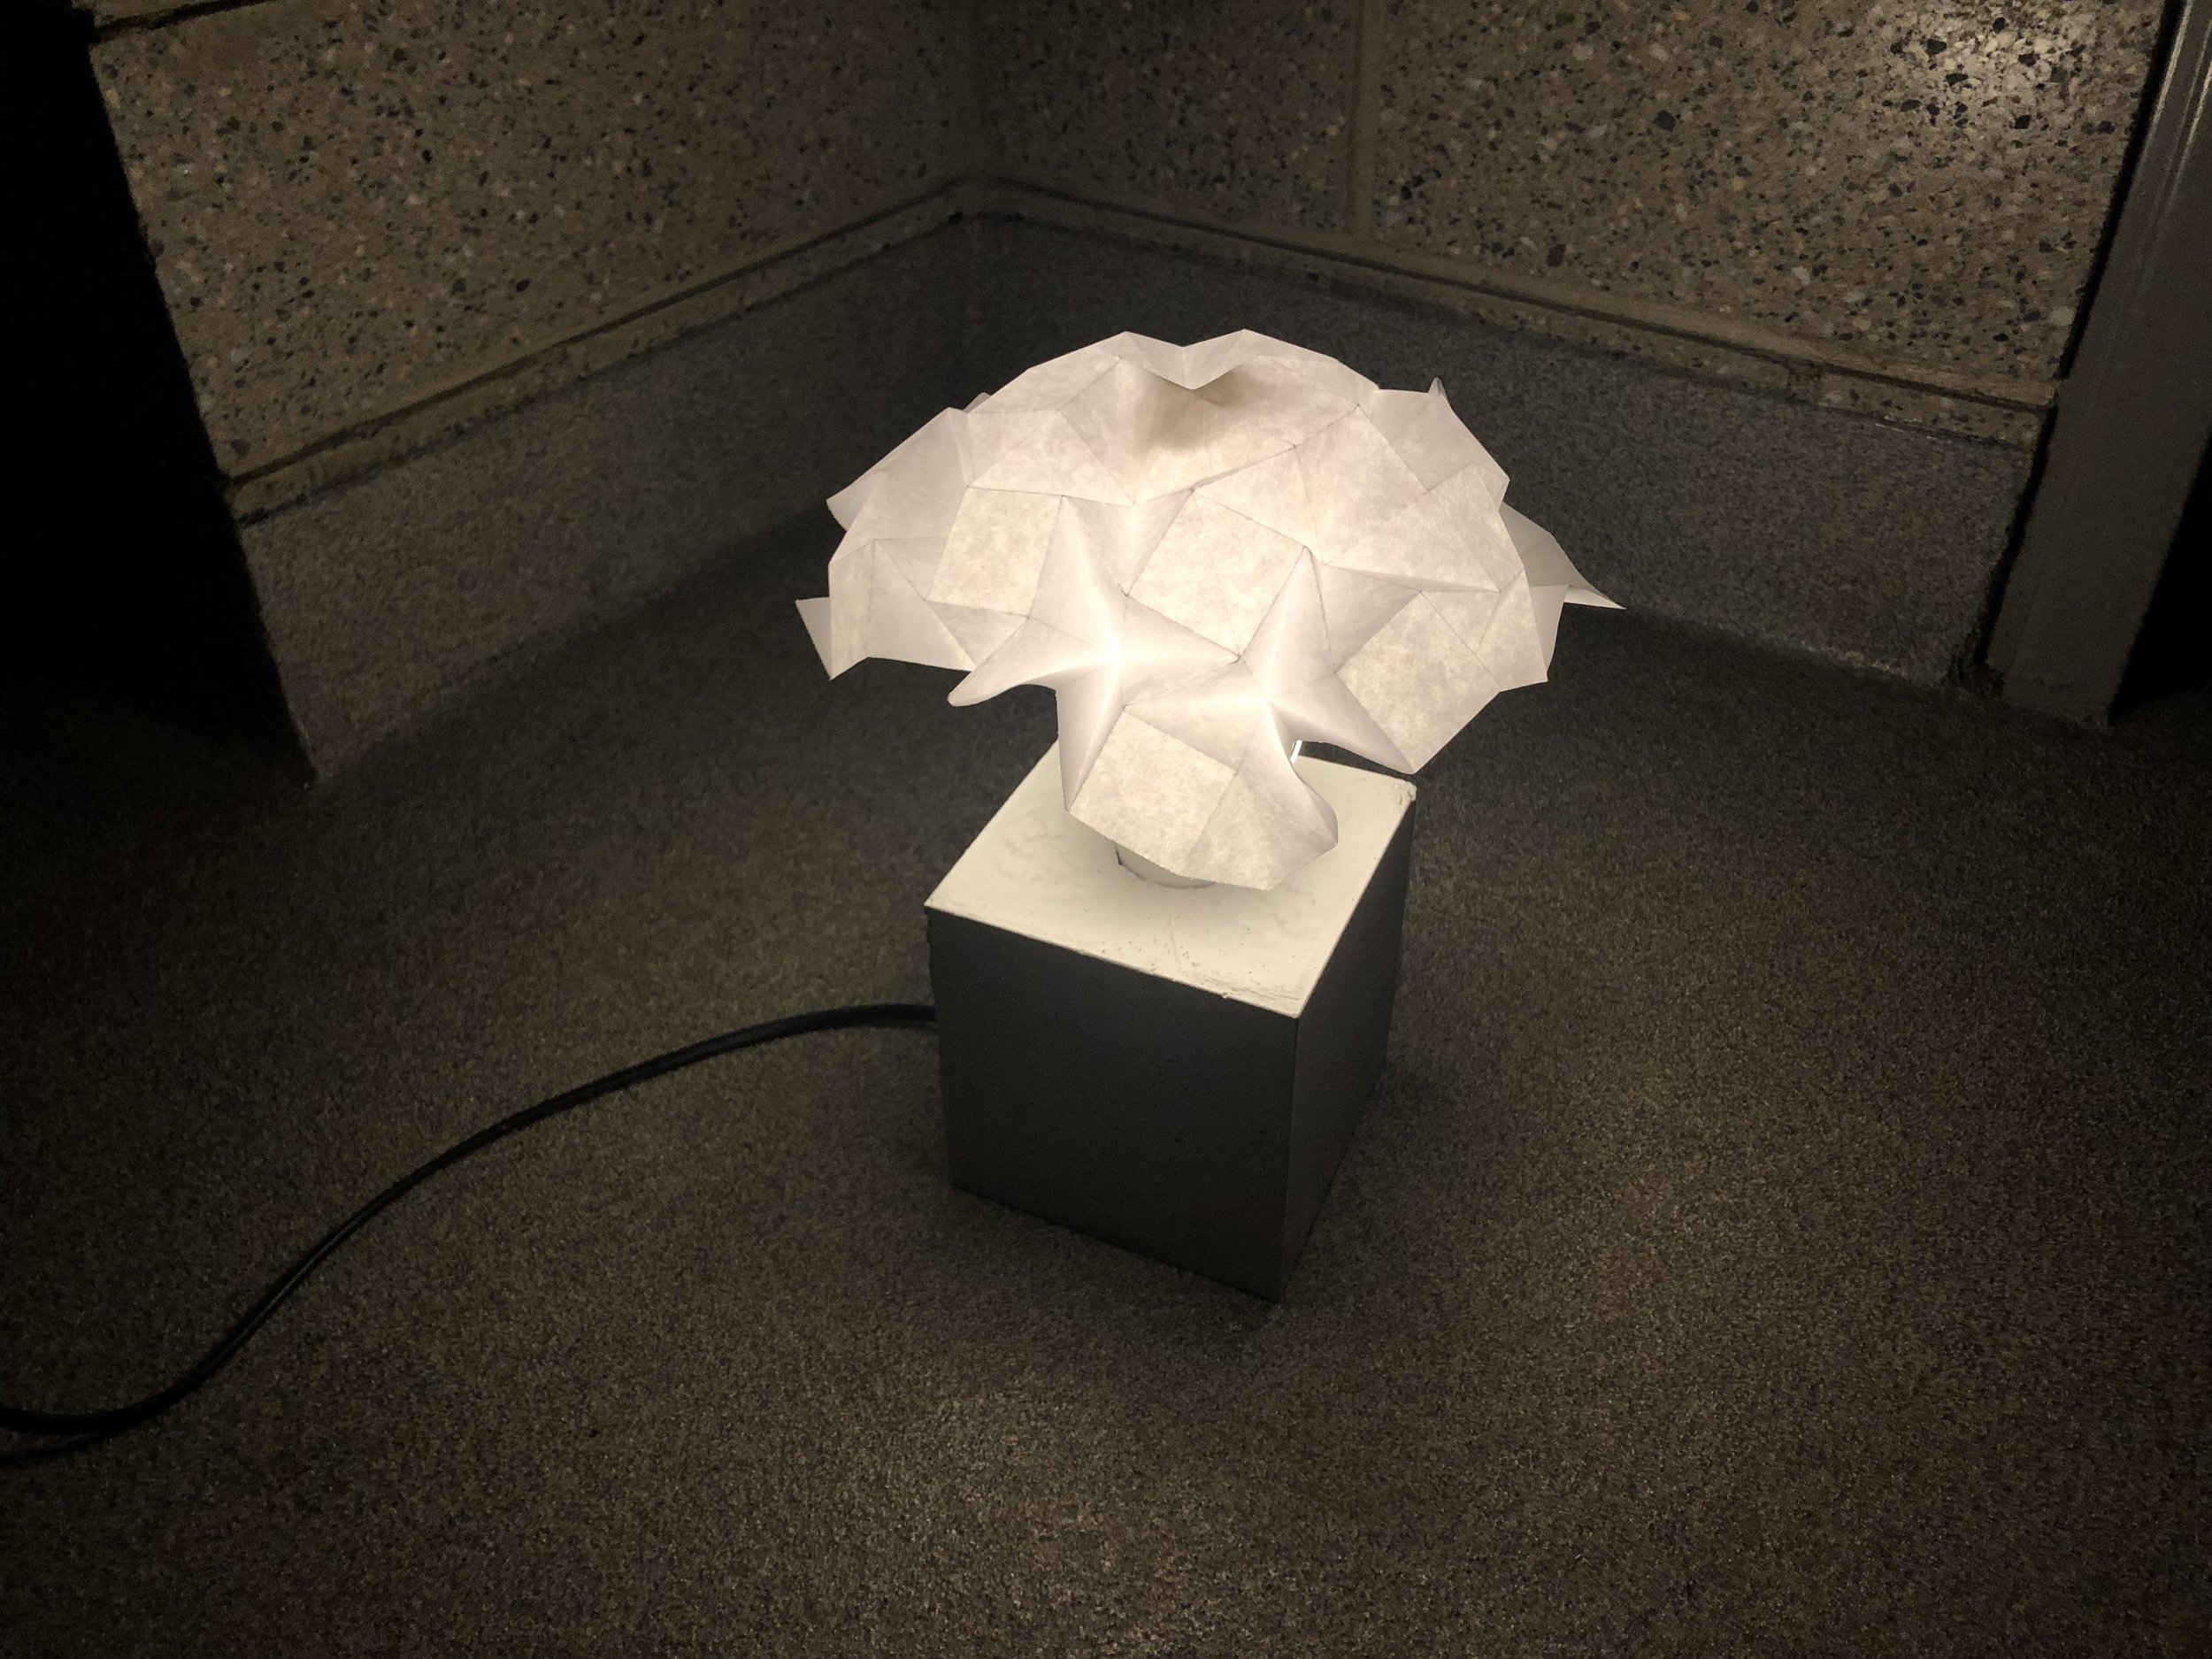
Cement Lamp
The Challenge
Create a community design workshop centered around a cement project
The result
A DIY lamp that teaches participants about 3D printing and working with cement
The details
Timeline: 2 weeks
Workshop location: Yale Center for Engineering Innovation and Design
Skills used: 3D CAD modeling, 3D printing, rapid prototyping, teaching
The workshop
Participants created molds, mixed and poured Rockite cement bases, and crafted acrylic and paper lamp shades during this free two-hour workshop. The workshop was popular, engaging, and inexpensive to host, and will be run again in future years.
Design process
ideation
I drew inspiration from modern concrete buildings on campus, particularly Beinecke library. I chose a simple, cube-shaped base for the lamp for its clean look and ease of mold construction. A void in the center of the cube, molded around a custom 3D printed insert, holds the lightbulb and its power cord.
Gordon Bunshaft’s Beinecke Rare Book and Manuscript Library on Yale University’s campus
Initial sketches
Initial prototype design
Prototyping
I prototyped both a 4- and 5-inch cube base, and decided that the 4-inch option was better because it was lighter and required less material, but still looked sturdy and substantial. I also tested various paper lampshade to determine the ideal diameter of the lampshade and height of the lightbulb above the base.
This lampshade was too narrow, and a harsh line seen from the outside indicated where the lightbulb began and ended.
This lampshade was better, but the elevated position of the lightbulb relative to the base created a dark zone on the bottom of the shade.
An elevated lamp shade diffused the illumination from the lightbulb nicely, but exposed the unsightly power cord attachment.
A 5” diameter lampshade proved ideal when paired with a low lightbulb height.


